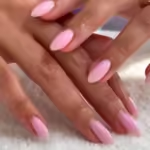
A French manicure is timeless, giving your nails a sophisticated and polished appearance. While it’s often associated with salon visits, it’s completely possible to do this manicure at home with a bit of patience and the right technique. Whether you’re looking to save time or just want to enjoy the satisfaction of a DIY nail session, this guide will walk you through everything you need to know for a flawless French manicure. Let’s dive in!
Requirements:
- Nail polish remover
- Sheer pink and white gel polish
- Primer
- Base and top coats
- Structure Gel (Optional)
- White Gel Polish
Step 1: Nail Prep
Start with removing old polish, cleaning the cuticles with the help of cuticle clipper followed by filing the nails. To get to know the prep phase in detail, visit our detailed manicure process.
Step 2: Primer
Apply primer on your bare nails. After this apply the structure gel which strengthens nails and makes them durable. Cure it for 60 seconds Structure Gel is optional. You can use a base coat instead too.

Step 3: Sheer Polish
Apply a nice sheer or rose pink gel polish to give your nails an elegant and natural look. Then cure it for 60 seconds. Now, at this stage your nails may not look that good but remember it gets worse before it gets better so trust the process.
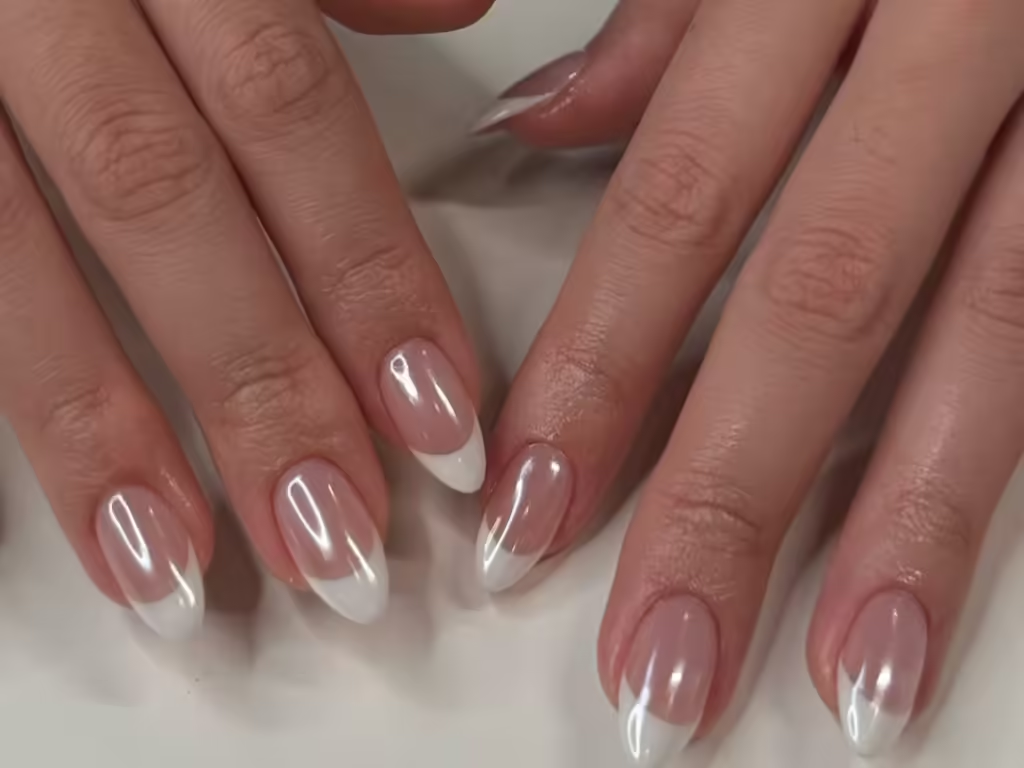
Step 4: White polish for tips
Take the white polish’s brush horizontally and drag half of the brush on the tip in slow sweeping motions. Remember only half of the brush should be on the nail tip.
Step 5: Clean and Keep Patience 🙂
Now use a thin brush dipped in alcohol to clean the edges and wipe the extra white outside the boundary. Later use a flatbrush too if needed. Cure each nail for 10 second to set it neatly.

Step 6: Sheer white polish
Now apply a sheer white polish on the entire nail and this is where it all starts to come together. Cure it for a minute. Finally apply a top coat.