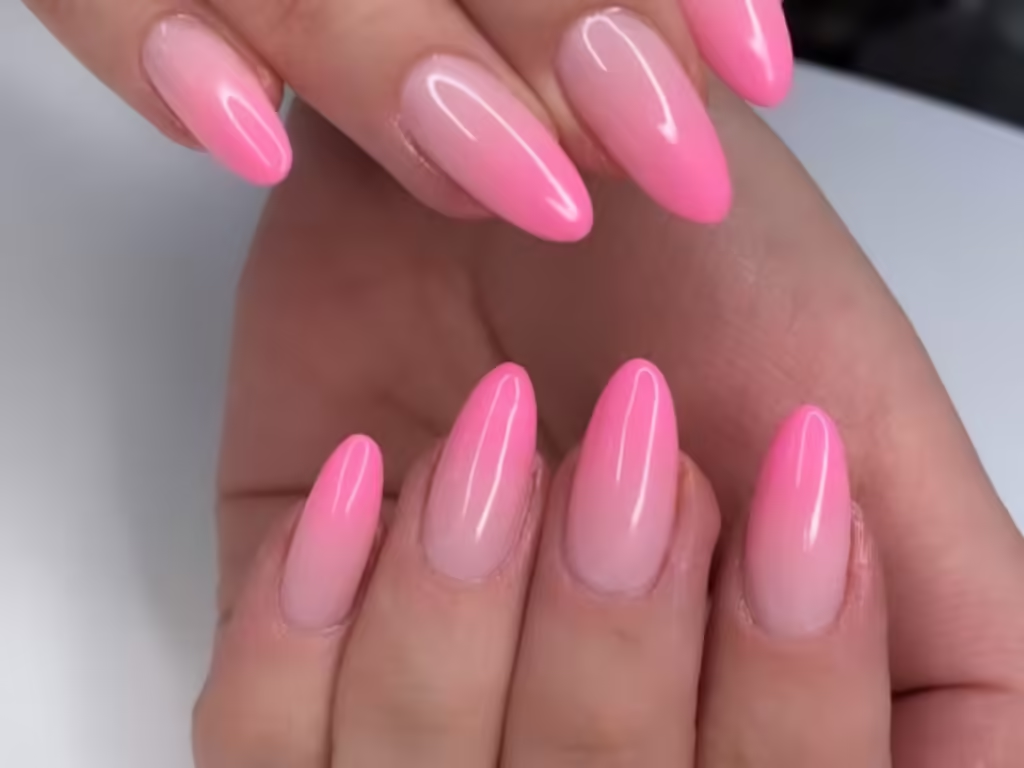
Ombre nails have become a popular trend for their gradient effect that looks both chic and stylish. While gel polishes and airbrush tools are often recommended for achieving this look, you can easily create ombre nails at home with regular nail polish. All you need are a few basic items and a bit of practice to perfect this trendy, eye-catching design. Here’s a step-by-step guide to help you get those beautiful ombre nails using just your favorite polish!
Requirements:
- Make-up sponges
- Base color (preferably white)
- Barrier tape (for easy cleanup – scotch tape works too)
- Atleast 2 colors of your choice
Step 1: Apply White Nail Polish
If you are a beginner apply a stark white nail polish as other colors really pop out on white nails. Let it dry for a while or cure it for 60 seconds
Step 2: Makeup Sponge
Use a rectangular makeup sponge, and apply two lines of a nail color consecutively. Suppose it’s grey and pink, then first apply two brushes of grey nail polish side to side and then pink nail polish. It shouldn’t be too dry or too wet, The pores of the sponge should be visible- that’s the perfect intensity. If its too wet wait for aa second for the sponge to absorb it.

Step 3: Dab, dab and dab
Now that the sponge is ready, dab it on the nail in an up and down motion a few times. Then you’ll see that the ombre is hardly visible but don’t worry as that’s how it is supposed to look. Wait for 3-4 mins for it to completely dry and then repeat the process again. Do this 4 times for each nail.
Step 4: Top Coat

Once it’s dry, apply a top coat and you’re done!